Integrate with Squid with Netlify
Use Squid as your backend, connect to any database or API, and build and deploy full-stack web apps with Netlify in no time.
Benefits
- Squid connects to any database or API in minutes and manages them all through a unified client SDK.
- Your application sees updates in real time.
- Your application benefits from Server Side Rendering (SSR).
- Squid enables you to extend your app with no limitations both on the client and the server
- Go as deep as you'd like without fear of lock-in. Squid is flexible and unopinionated by design.
Use cases
- Create real-time, full-stack web applications using your existing MongoDB, PostgresDB, MySQL, or any database you prefer without boilerplate or glue code.
- Build a POC or prototype in minutes and share it with the world using whatever best of breed resources you need -- Squid can integrate with them all. (Don't see one you need? Let us know!)
Using Squid as your backend
Squid allows you to easily connect to any database or API, including ones you may already use. Here are some tutorials to get you quickly started with a Squid application that uses a database or API integration:
- Connecting to MongoDB
- Adding an HTTP API
- Start with a simple CRUD application using our built-in database.
Once you've completed these, you're ready to deploy your Squid application using Netlify.
Deploy with Netlify in six easy steps
The following steps show you how to manually deploy to Netlify. To implement CI/CD with Squid, Netlify, and GitHub, use Squid's Netlify integration. Learn more in the documentation on the Squid Netlify integration.
Both Squid and Netlify provide a dev environment and a production environment for prod deployments. Before your application is ready to go live, use the dev environment both in Squid and in Netlify.
First, ensure that your Squid backend is running. You can do so by running
squid startin thedevenvironment in your Squid app's backend directory or by deploying your backend. Learn more about running the Squid backend here.Install the Netlify CLI using the following command in your terminal:
npm install -g netlify-cli
- Create your Netlify project:
netlify sites:create
- Create a
.env.localfile:
touch .env.local
- Run the following command in your application's frontend directory. Once the Netlify finishes setting up the local server, the terminal logs a link to the application in the format
http://[RANDOM_ID].netlify.live. Click the link to open your application.
netlify dev --live
- Once you are satisfied with your site's local deployment, you can run your project's build command and deploy to Netlify by running:
netlify deploy
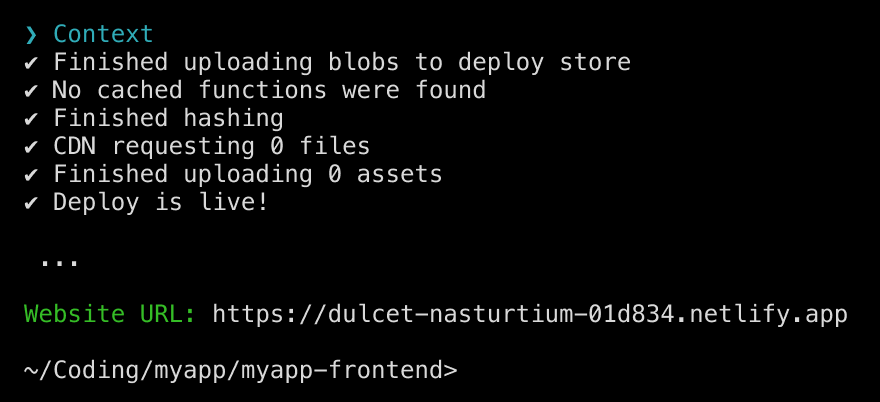
In your terminal, you will see something like the following after you deploy live: