Integrate MongoDB
Squid offers the ability to integrate a MongoDB database with your project, allowing you to use the Squid platform to securely access and manage your MongoDB data in real-time, without changing your existing systems.
TL;DR
In this tutorial you will learn how to connect a new MongoDB database to your Squid project. This includes:
- Creating the integration in the Squid Console
- Enforcing security rules for an external database
- Querying the MongoDB database using Squid from a client project
This tutorial uses React and Squid to connect to sample data in a MongoDB collection. A basic understanding of database terminology, React, and the Squid platform is beneficial, but there are no prerequisites for this guide.
Create a new MongoDB project
To begin, sign in to your MongoDB account and create a new project. MongoDB
will redirect you to the project's overview page. Once there, create a database deployment by clicking the Create button.
Select the free M0 tier for this deployment. You can also name the cluster a custom name, such as sample-data.
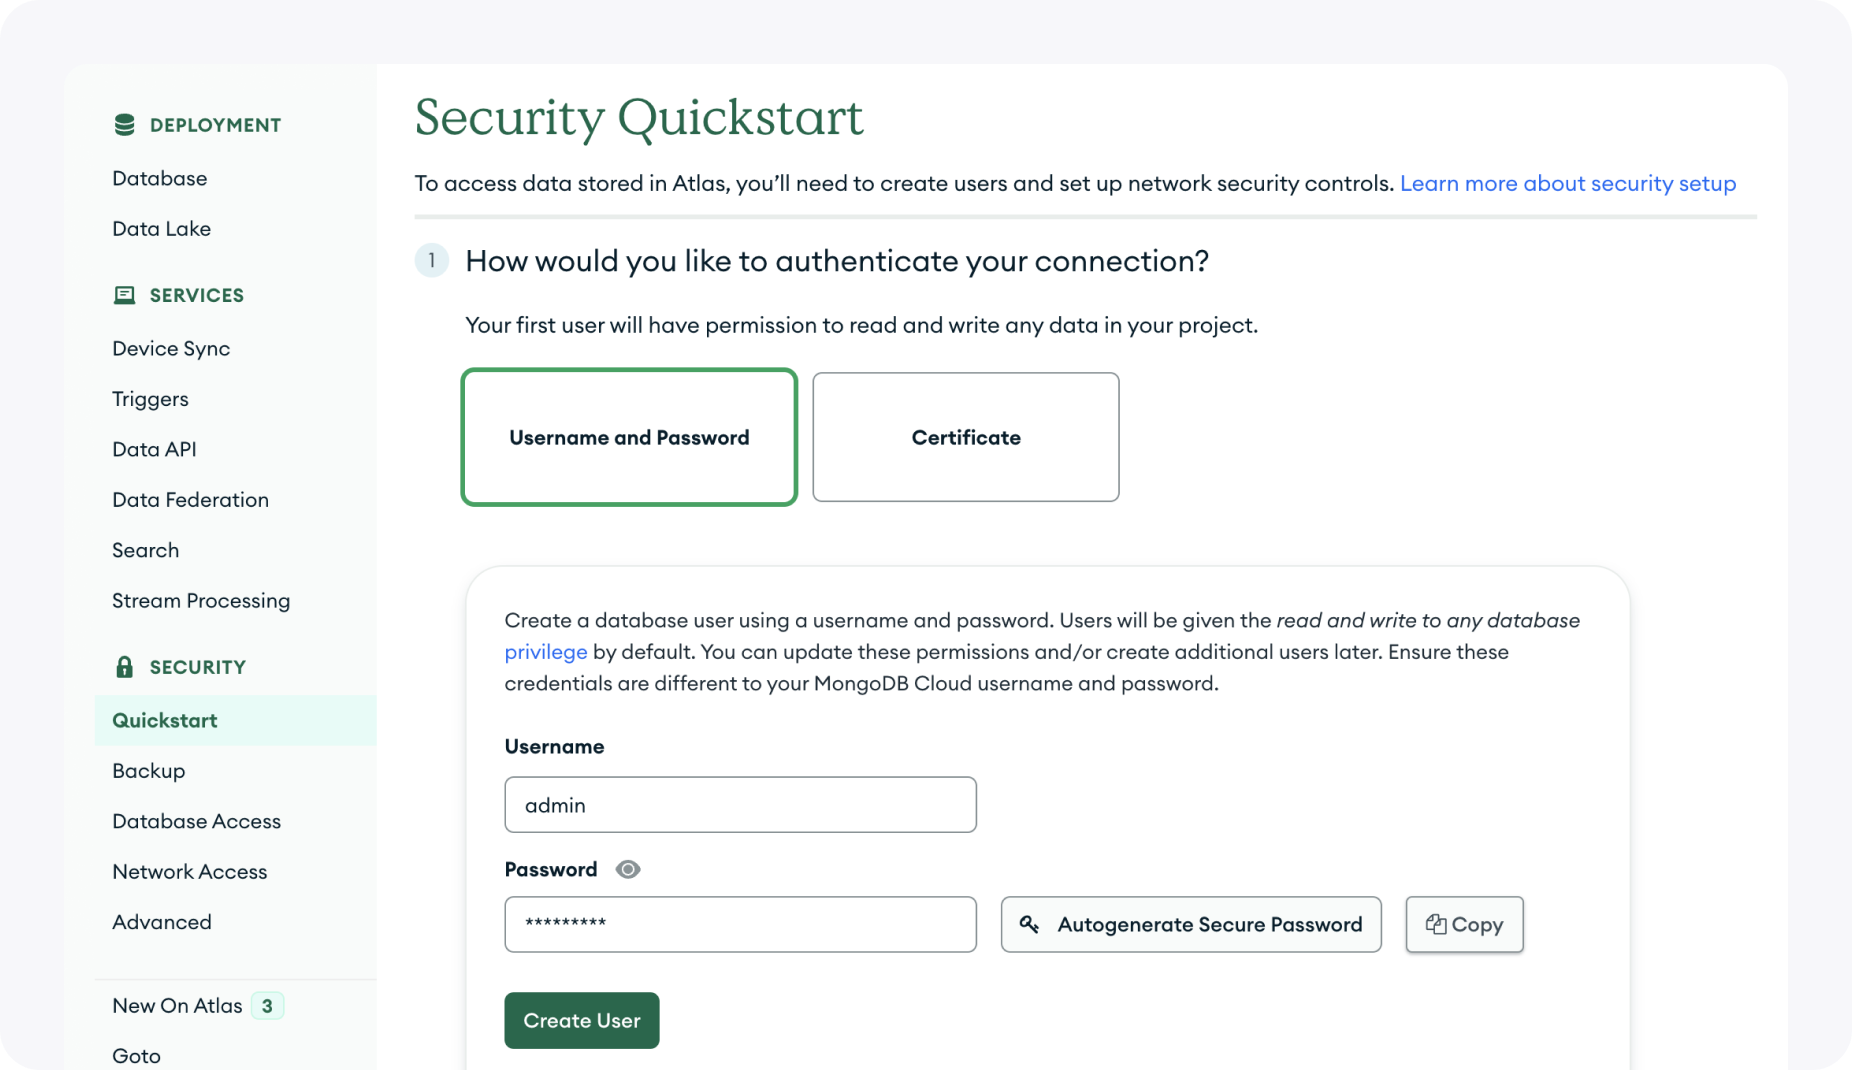
Next, MongoDB should redirect you to the Quickstart tab of the Security section. This is found in the menu located
in the left panel. In order to connect to the MongoDB database, we will need to create an authorized user.
For step 1, authenticate your connection using a username and password. Make sure to copy the password you choose as this will be needed when connecting Squid to MongoDB. Once you are done, click Create User.
Continue to step 2 and choose My Local Environment. Since Squid will need access to the database, we will allow access
from Squid's IP addresses, which can be found in the Squid Console's application overview page in the Cloud provider section. Click Add Entry to add each IP address to your Access List.
Finalize this setup by clicking Finish and Close at the bottom of the page.
On the project overview page, you should now see your cluster under Database Deployments. Click on Load Sample Data
to load some starter data provided by MongoDB into the cluster. Be patient as MongoDB adds the data, which may take a few minutes.
Once the data is in the cluster, you can click on Browse Collections which will appear in the place of Load Sample Data.
Read through the data that was added, including a sample_airbnb database with a listingsAndReviews collection.
The MongoDB side of things is now ready! Next, let's get our React project started with Squid so that we can begin to use the MongoDB sample data.
Create a new React project
First, create a root project directory in your desired location:
mkdir mongo
Next, cd into the mongo directory and create a new React typescript application using Vite:
cd mongo
npm create vite@latest mongo-frontend -- --template react-ts
Next, cd into the newly created directory and install all dependencies:
cd mongo-frontend
npm install
Create a new app in the console
Navigate to the Squid Console and create a new application named mongo-tutorial (or something similar).
Squid provides two different target environments for development and production. This tutorial will assume you are using
the dev environment, but prod is an option as well. For the application to work, ensure that you are using the same
target environment throughout the project. To learn more, read about Squid's environments.
Follow the steps in the console to generate a backend template project. To view these steps, click the
Initialize backend button on the application overview page. Make sure to cd back into the root project directory before initializing the backend so that the frontend and backend directories are siblings.
Create a MongoDB integration
In the console, navigate to the application's Integrations page and add a new
MongoDB integration. Note that integrations are not shared across environments, so make sure you are using the correct environment (see the note above).
Next, enter values in the four input fields:
Integration ID: For the ID, choose something meaningful which describes what this integration represents, such asmongoDatabase connection string: This string can be found on the MongoDB project overview page by clicking theConnectbutton. After clicking on the button, a modal should appear prompting you to choose a connection method. Select theShelloption and locate your connection string. The specific part of the string Squid requires likely begins with "mongodb+srv" and ends with "mongodb.net". Any characters before or after can be ignored, but characters in between are necessary. Additionally, append the database name we will be using, "/sample_airbnb". Ultimately, the string will look something like:mongodb+srv://YOUR_CLUSTER_NAME.SOME_ID_CHARS.mongodb.net/sample_airbnb.
Copy this value into the Squid Console. Nothing else is required from the MongoDB website.Database usernameandDatabase password: We created these values during our MongoDB Setup. Copy them into the console now, creating a new secret for the password.
Providing the database connection string, username, and password establishes Squid's connection to the MongoDB database.
Click the Test connection button to make sure that the connection between Squid and MonogDB is working correctly.
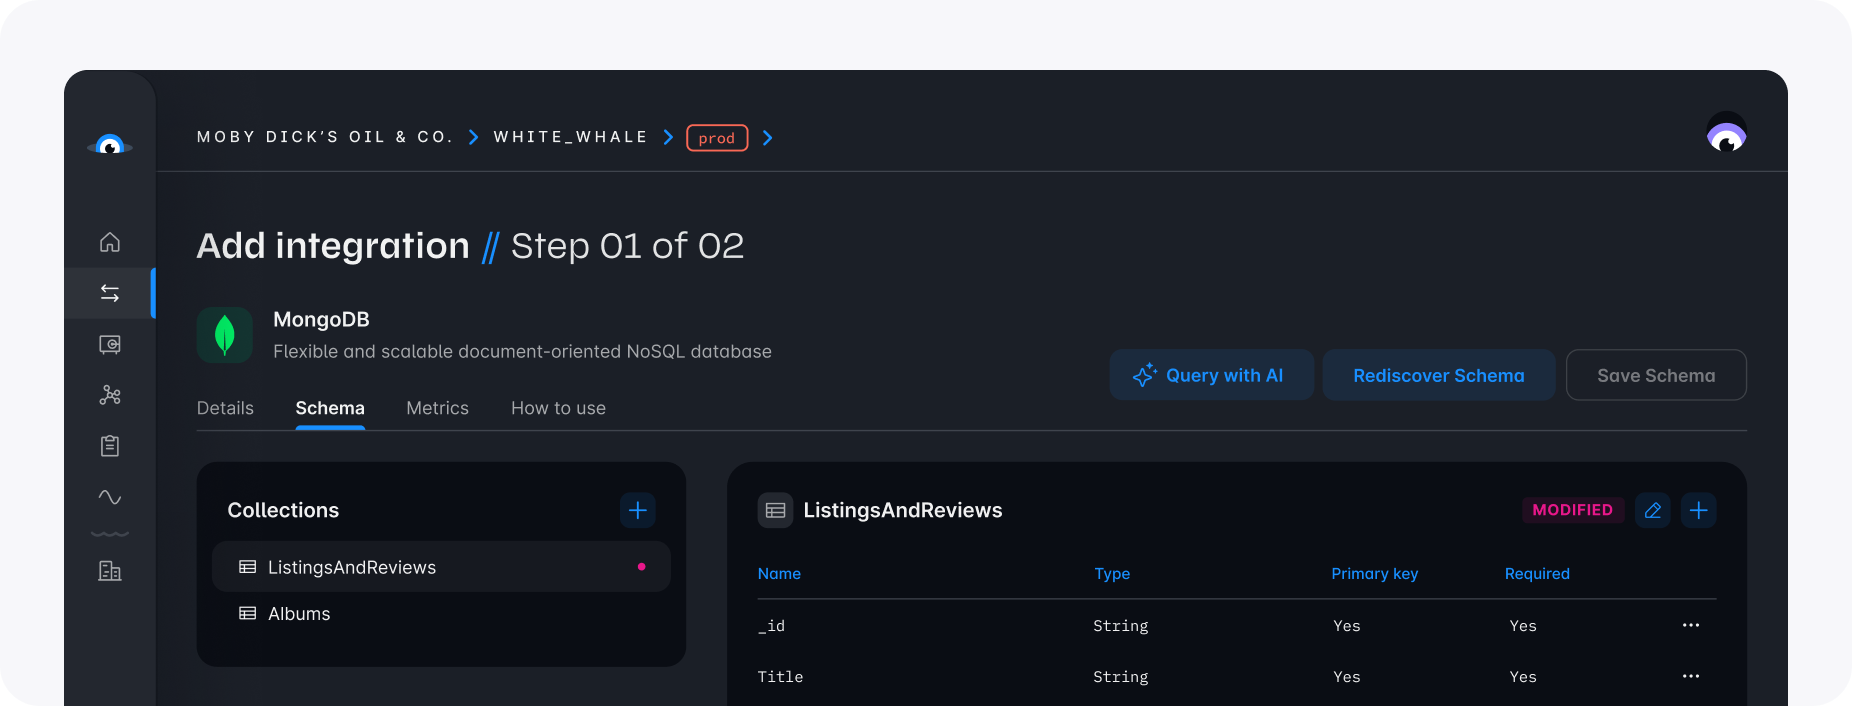
Click the Next button to see Squid automatically discover the database schema based on the data currently in the sample_airbnb
database. Whenever a change is made to the data, you can manually Rediscover schema as well (though this will not be needed in this tutorial).
Once you have completed these steps, click Add integration to add it to your project!
Security rules
Security rules are required for all database integrations. This allows you to create custom logic for authorizing access to
specific collections or actions, as well as the database as a whole. Since authentication and authorization are outside the scope of this tutorial, we
will create a security rule which allows for public access to the mongo integration.
To learn more about securing your data, read about Squid's backend security rules.
Security rules are located in the file mongo-backend/src/service/example-service.ts. The security rules can be expanded
by adding a decorator to the SquidService class. To create a security rule for a database integration, use the @secureDatabase
decorator, which takes the database action type and integration_id as a parameter. Create a new security rule in the ExampleService class:
import { secureDatabase, SquidService } from '@squidcloud/backend';

...

export class ExampleService extends SquidService {

  ...

  @secureDatabase("all", "mongo")
  allowAccessToMongo(): boolean {
    return true; // Allows all access to the mongo integration
  }
}
Edit the client code
The last step is to use the integration in the React project using the React version of the Squid Client SDK.
Setup
First, install the Squid React SDK from the mongo-frontend directory:
npm install @squidcloud/react
Next, in src/main.tsx, wrap the App component in the SquidContextProvider. Replace the placeholders below with the configuration options located in your .env file.
The .env file was automatically generated while creating the app in the console and can be located in your backend directory.
import ReactDOM from 'react-dom/client'
import { StrictMode } from 'react';
import App from './App.tsx'
import './index.css'
import { SquidContextProvider } from '@squidcloud/react';

...

ReactDOM.createRoot(document.getElementById('root')!).render(
  <StrictMode>
    <SquidContextProvider
      options={{
        appId: 'YOUR_APP_ID',
        region: 'YOUR_REGION', // example: 'us-east-1.aws'
        environmentId: 'dev | prod', // choose one of 'dev' or 'prod'
        squidDeveloperId: 'YOUR_SQUID_DEVELOPER_ID',
      }}
    >
      <App />
    </SquidContextProvider>
  </StrictMode>
);
Running the project
To run the project, you must start both the client React project as well as the backend Squid project.
To run the backend, run the following from the backend directory:
squid start
To run the client, run the following from the frontend directory:
npm run dev
You should now see the client project running at http://localhost:PORT, where the port is logged in the terminal. Because we haven't edited what is rendered on the page yet, you should still see Vite's starter project.
Querying a single document
We can use the Squid methods for querying a collection in multiple ways. The first way is by using a document ID to query
a single document within the listingsAndReviews collection.
Document IDs in non-built-in integrations must be in the form of an object. To learn more about document IDs in Squid, check out our documentation.
The schema we discovered in the console earlier describes that Squid expects the primary key to contain an _id field of type string.
Looking at the data in MongoDB, we can choose an arbitrary entry's _id value to query that document and display its data
on the client. Edit mongo-frontend/src/App.tsx with the new code:
import './App.css';
import { useCollection, useDoc } from '@squidcloud/react';

function App() {
  const collectionRef = useCollection('listingsAndReviews', 'mongo');

  const { data: listing } = useDoc(collectionRef.doc({ _id: '10057826' }));

  return (
    <>
      <h2>
        Note: this is MongoDB sample data. Any data displayed here may not be
        accurate
      </h2>
      <div>Name: {listing?.name}</div>
      <div>URL: {listing?.listing_url}</div>
      <div>Price: ${listing?.price}</div>
    </>
  );
}

export default App;
Run the project the same way described above. If all was setup correctly, you should see something like this:
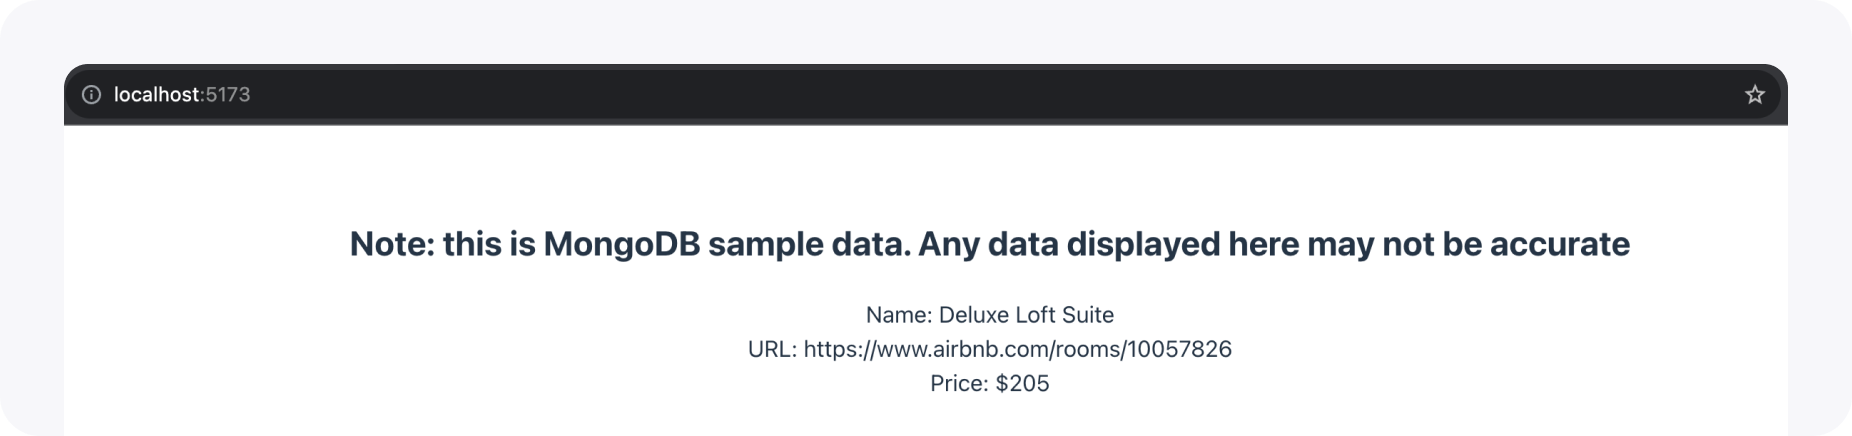
Congratulations! You have completed your first query with an external MongoDB database. To learn more about queries, check out our documentation. Let's continue by writing one more complex query...
Building a query
Asking "What are the cheapest options" is like embarking on a digital quest for the greatest treasures AirBnB has to offer! With Squid's advanced querying options, we can easily find the cheapest options available. The query will look something like this:
const { data: cheapListings } = useQuery(
  collectionRef.query().where('price', '<=', 10)
);
We could even expand on this query if we want to specify the location, how many people it accommodates, and more.
Putting the whole thing together, here is what the final mongo-frontend/src/App.tsx should look like:
import './App.css';
import { useCollection, useDoc, useQuery } from '@squidcloud/react';

function App() {
  const collectionRef = useCollection('listingsAndReviews', 'mongo');

  const { data: listing } = useDoc(collectionRef.doc({ _id: '10057826' }));

  const { data: cheapListings } = useQuery(
    collectionRef.query().where('price', '<=', 10)
  );

  return (
    <>
      <h2>
        Note: this is MongoDB sample data. Any data displayed here may not be
        accurate
      </h2>
      <div>Name: {listing?.name}</div>
      <div>URL: {listing?.listing_url}</div>
      <div>Price: ${listing?.price}</div>
      <hr />
      <h3>Cheap Listings</h3>
      {cheapListings.map((listing, i) => (
        <div key={i}>
          Name: {listing.data.name} --- URL: {listing.data.listing_url}
        </div>
      ))}
    </>
  );
}

export default App;
With this code, you should now see the listing you queried earlier, alongside a list of all the AirBnBs priced at $10 or less.
Next steps
After completing this guide, feel free to explore more that Squid has to offer. With a MongoDB integration, you can also mutate your data. Additionally, you can setup authentication to control who has access to specific parts of your data.