Integrate a Snowflake database
TL;DR
In this tutorial you learn how to connect a new Snowflake database to your Squid project. This includes:
- Creating the integration in the Squid Console
- Enforcing security rules for an external database
- Querying the Snowflake database using Squid from a client project
This tutorial uses React and Squid to connect to sample data in a Snowflake table. A basic understanding of database terminology, React, and the Squid platform is beneficial, but there are no prerequisites for this guide.
Environment setup
- Install the Squid CLI using the following command:
npm install -g @squidcloud/cli
- Download the snowflake code sample:
squid init-sample snowflake --template snowflake
Create a new Snowflake database
Snowflake provides several shared databases upon account creation. Since these databases are read-only, we're going to make a copy that we can edit.
In the Snowflake console, navigate to and open a Snowflake Worksheet. In the Worksheet, use the Run all option to execute the following commands. Replace <your_wh> with the name of your data warehouse:
USE WAREHOUSE <your_wh>;

CREATE DATABASE SQUID_TUTORIAL;

CREATE TABLE SQUID_TUTORIAL.PUBLIC.ORDERS LIKE "SNOWFLAKE_SAMPLE_DATA"."TPCH_SF1"."ORDERS";

INSERT INTO SQUID_TUTORIAL.PUBLIC.ORDERS SELECT * FROM "SNOWFLAKE_SAMPLE_DATA"."TPCH_SF1"."ORDERS";
These commands create a new database and import data from one of the sample tables to the new database.
Set up the Squid backend
There are two subfolders that make up the snowflake project: frontend and backend. The backend folder contains the Squid backend for the app.
- Navigate to the Squid Cloud Console and create a new application named
snowflake.
- In the Squid Cloud Console, navigate to the application overview page and scroll to the Backend project section. Click Create .env file and copy the command.
- In the terminal, change to the backend directory:
cd backend
- Create the
.envfile using the command you copied from the console. The command has the following format:
squid init-env \
--appId YOUR_APP_ID \
--apiKey YOUR_API_KEY \
--environmentId dev \
--squidDeveloperId YOUR_SQUID_DEVELOPER_KEY \
--region us-east-1.aws
- Install the required dependencies:
npm install
The backend is now set up and ready to use with a frontend!
Connect Snowflake to Squid
- Click the Integrations tab, and then click Available integrations to view all integrations.
- Select the Snowflake integration.
- Provide the following configuration information:
Fields are case-sensitive. Ensure you are using uppercase when needed.
Integration ID: snowflake-shop
Snowflake username
Snowflake password - to keep it private, store your password in Squid Secrets.
Snowflake account ID - Open the menu in the corner showing your username in the Snowflake console, and then click the Account option from the menu. Hovering over your account brings up a modal with the option to view your full account information. You can use the Copy account identifier button in Snowflake to copy the ID. In the Squid Cloud Console, paste this ID and replace the . with a - so the result will be the following: Before: AAAAAAA.AAA00000 After: AAAAAAA-AAA00000
Snowflake database name: SQUID_TUTORIAL
Snowflake schema: PUBLIC
Snowflake warehouse - Use the same warehouse in which you created the database in the previous step.
Snowflake role - The name of the role in which the Snowflake database is located. You can find the Snowflake role in the Snowflake console under your Snowflake username.
Once you've entered the connection information, click Test connection to verify that the connection is successful.
Click Add integration to add the integration.
The schema is automatically synced to Squid Cloud from Snowflake. Each collection requires a primary key that will serve to identify individual documents (rows) in the collection (table).
In the ORDERS collection in the Squid Cloud Console schema preview, click the ... button in the O_ORDERKEY row and select Edit field.
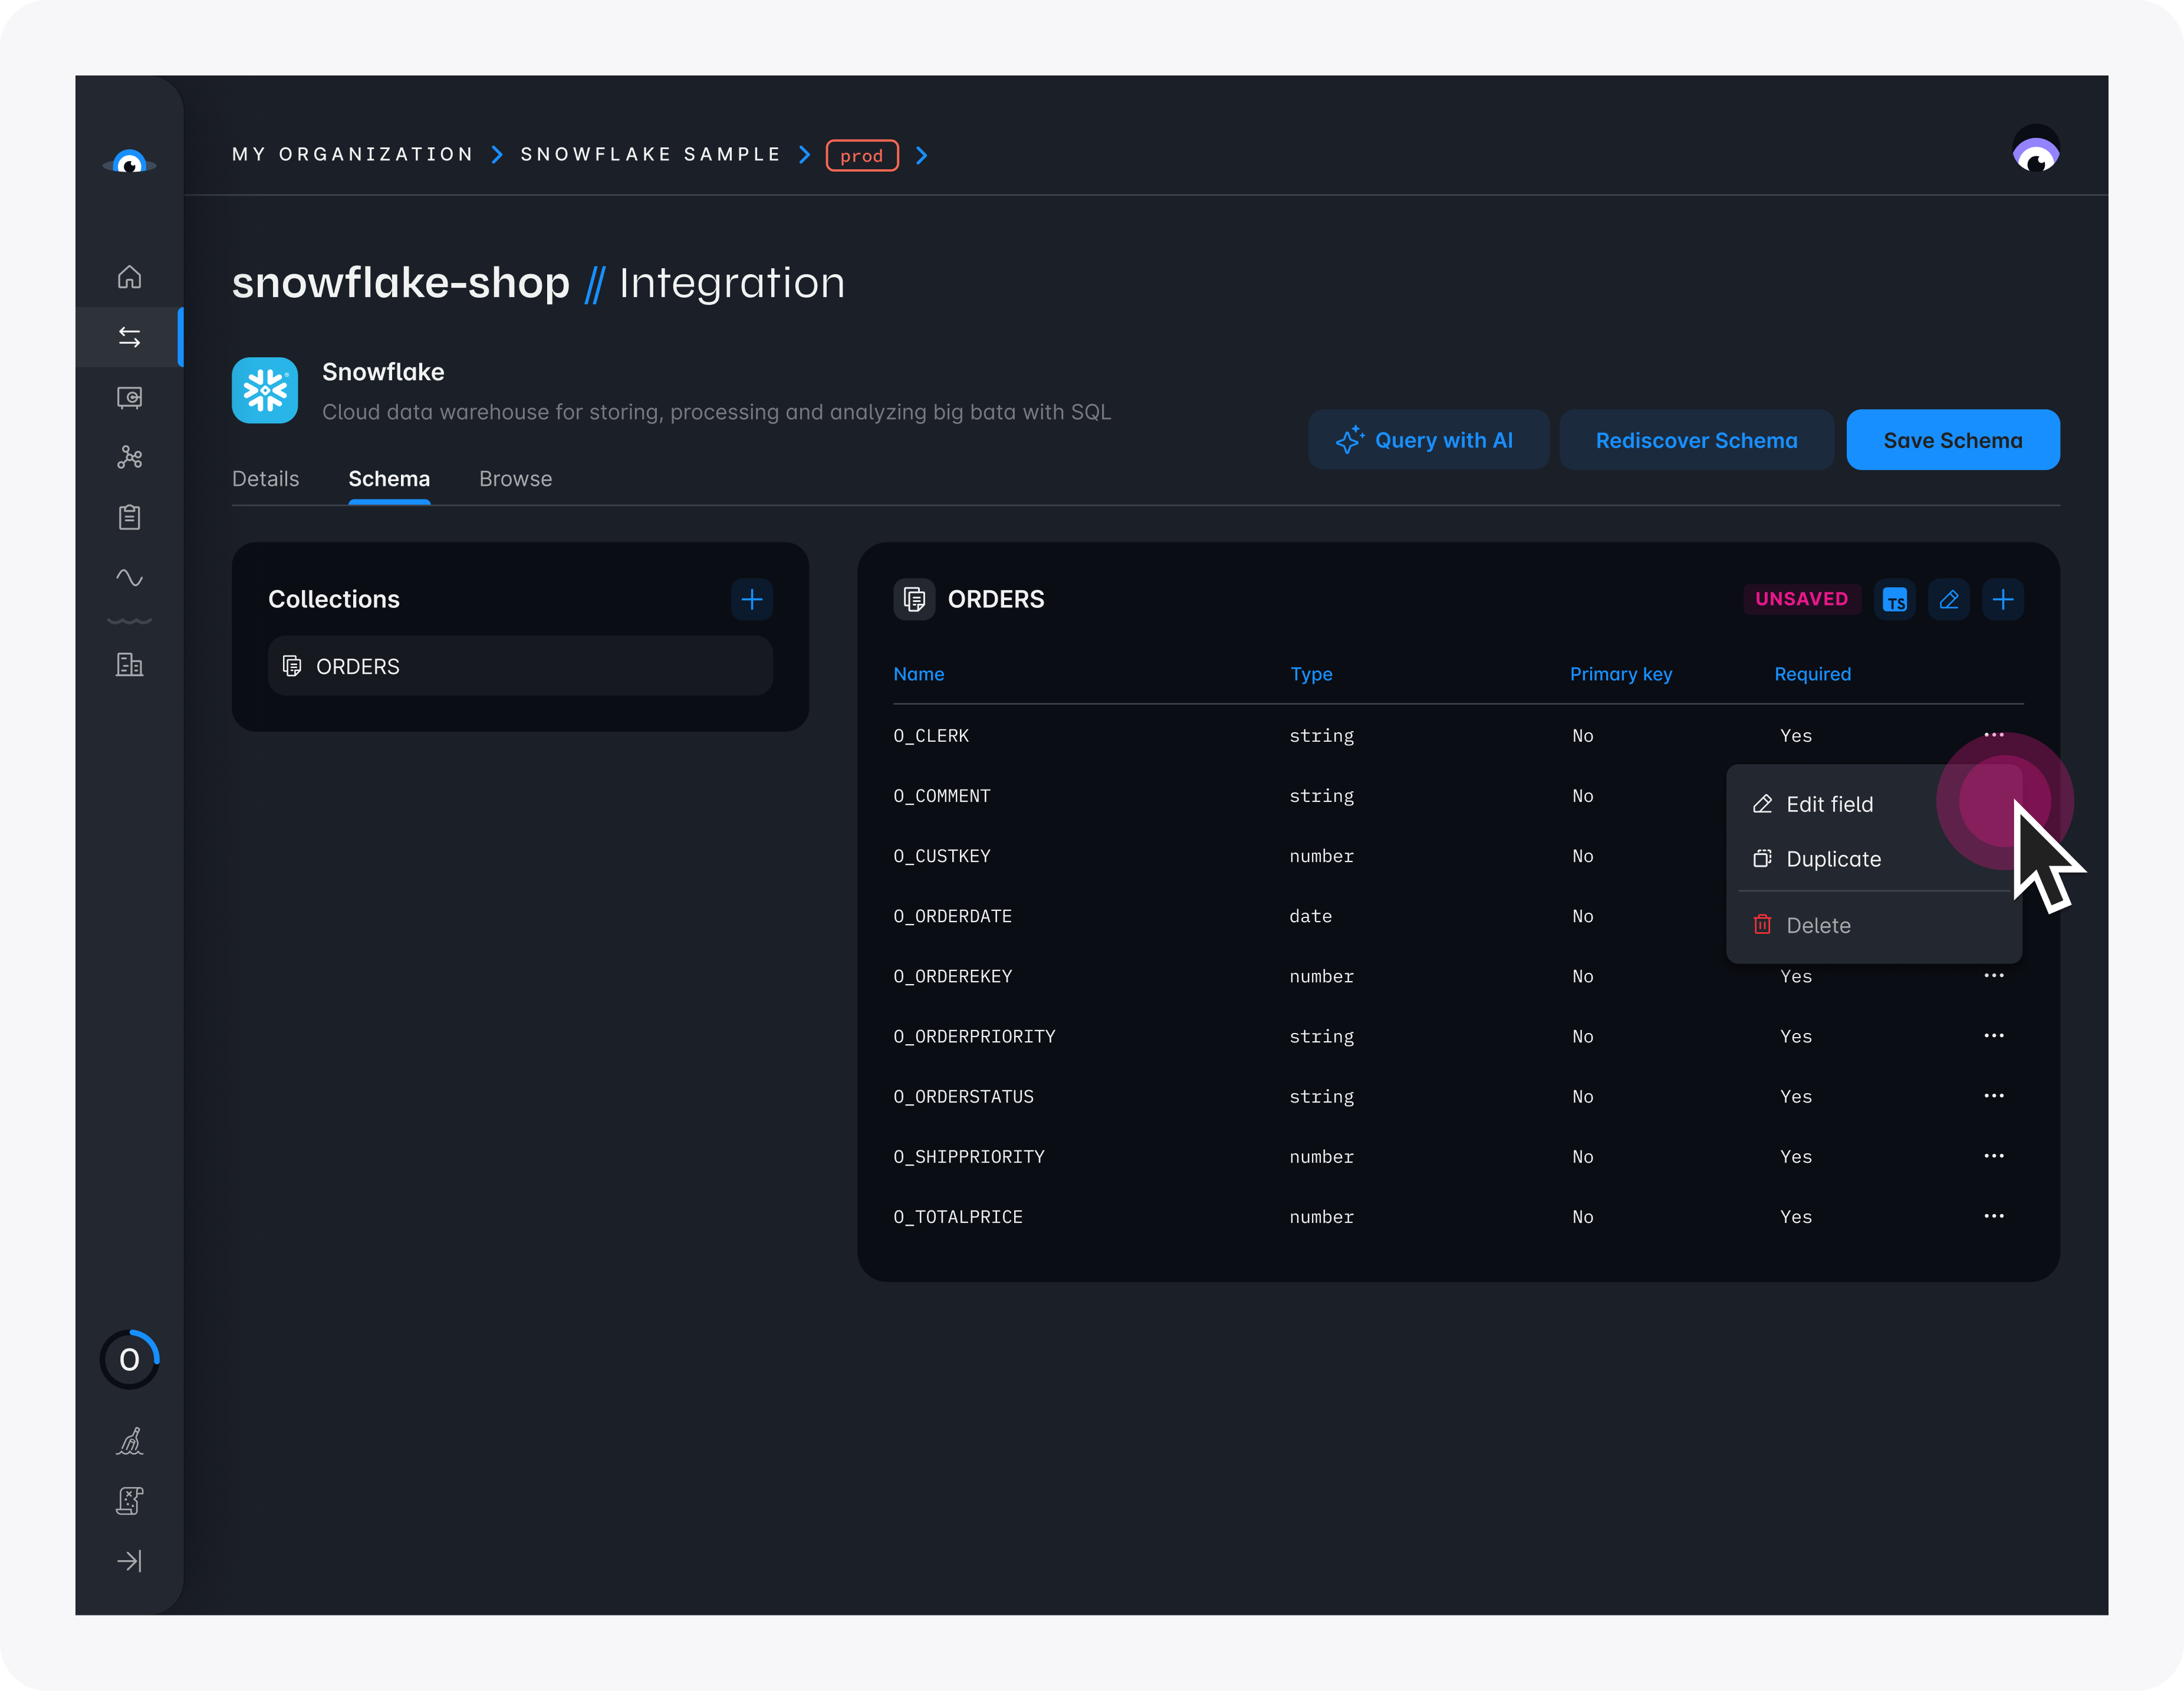
- Under Primary key, select Yes from the dropdown menu.
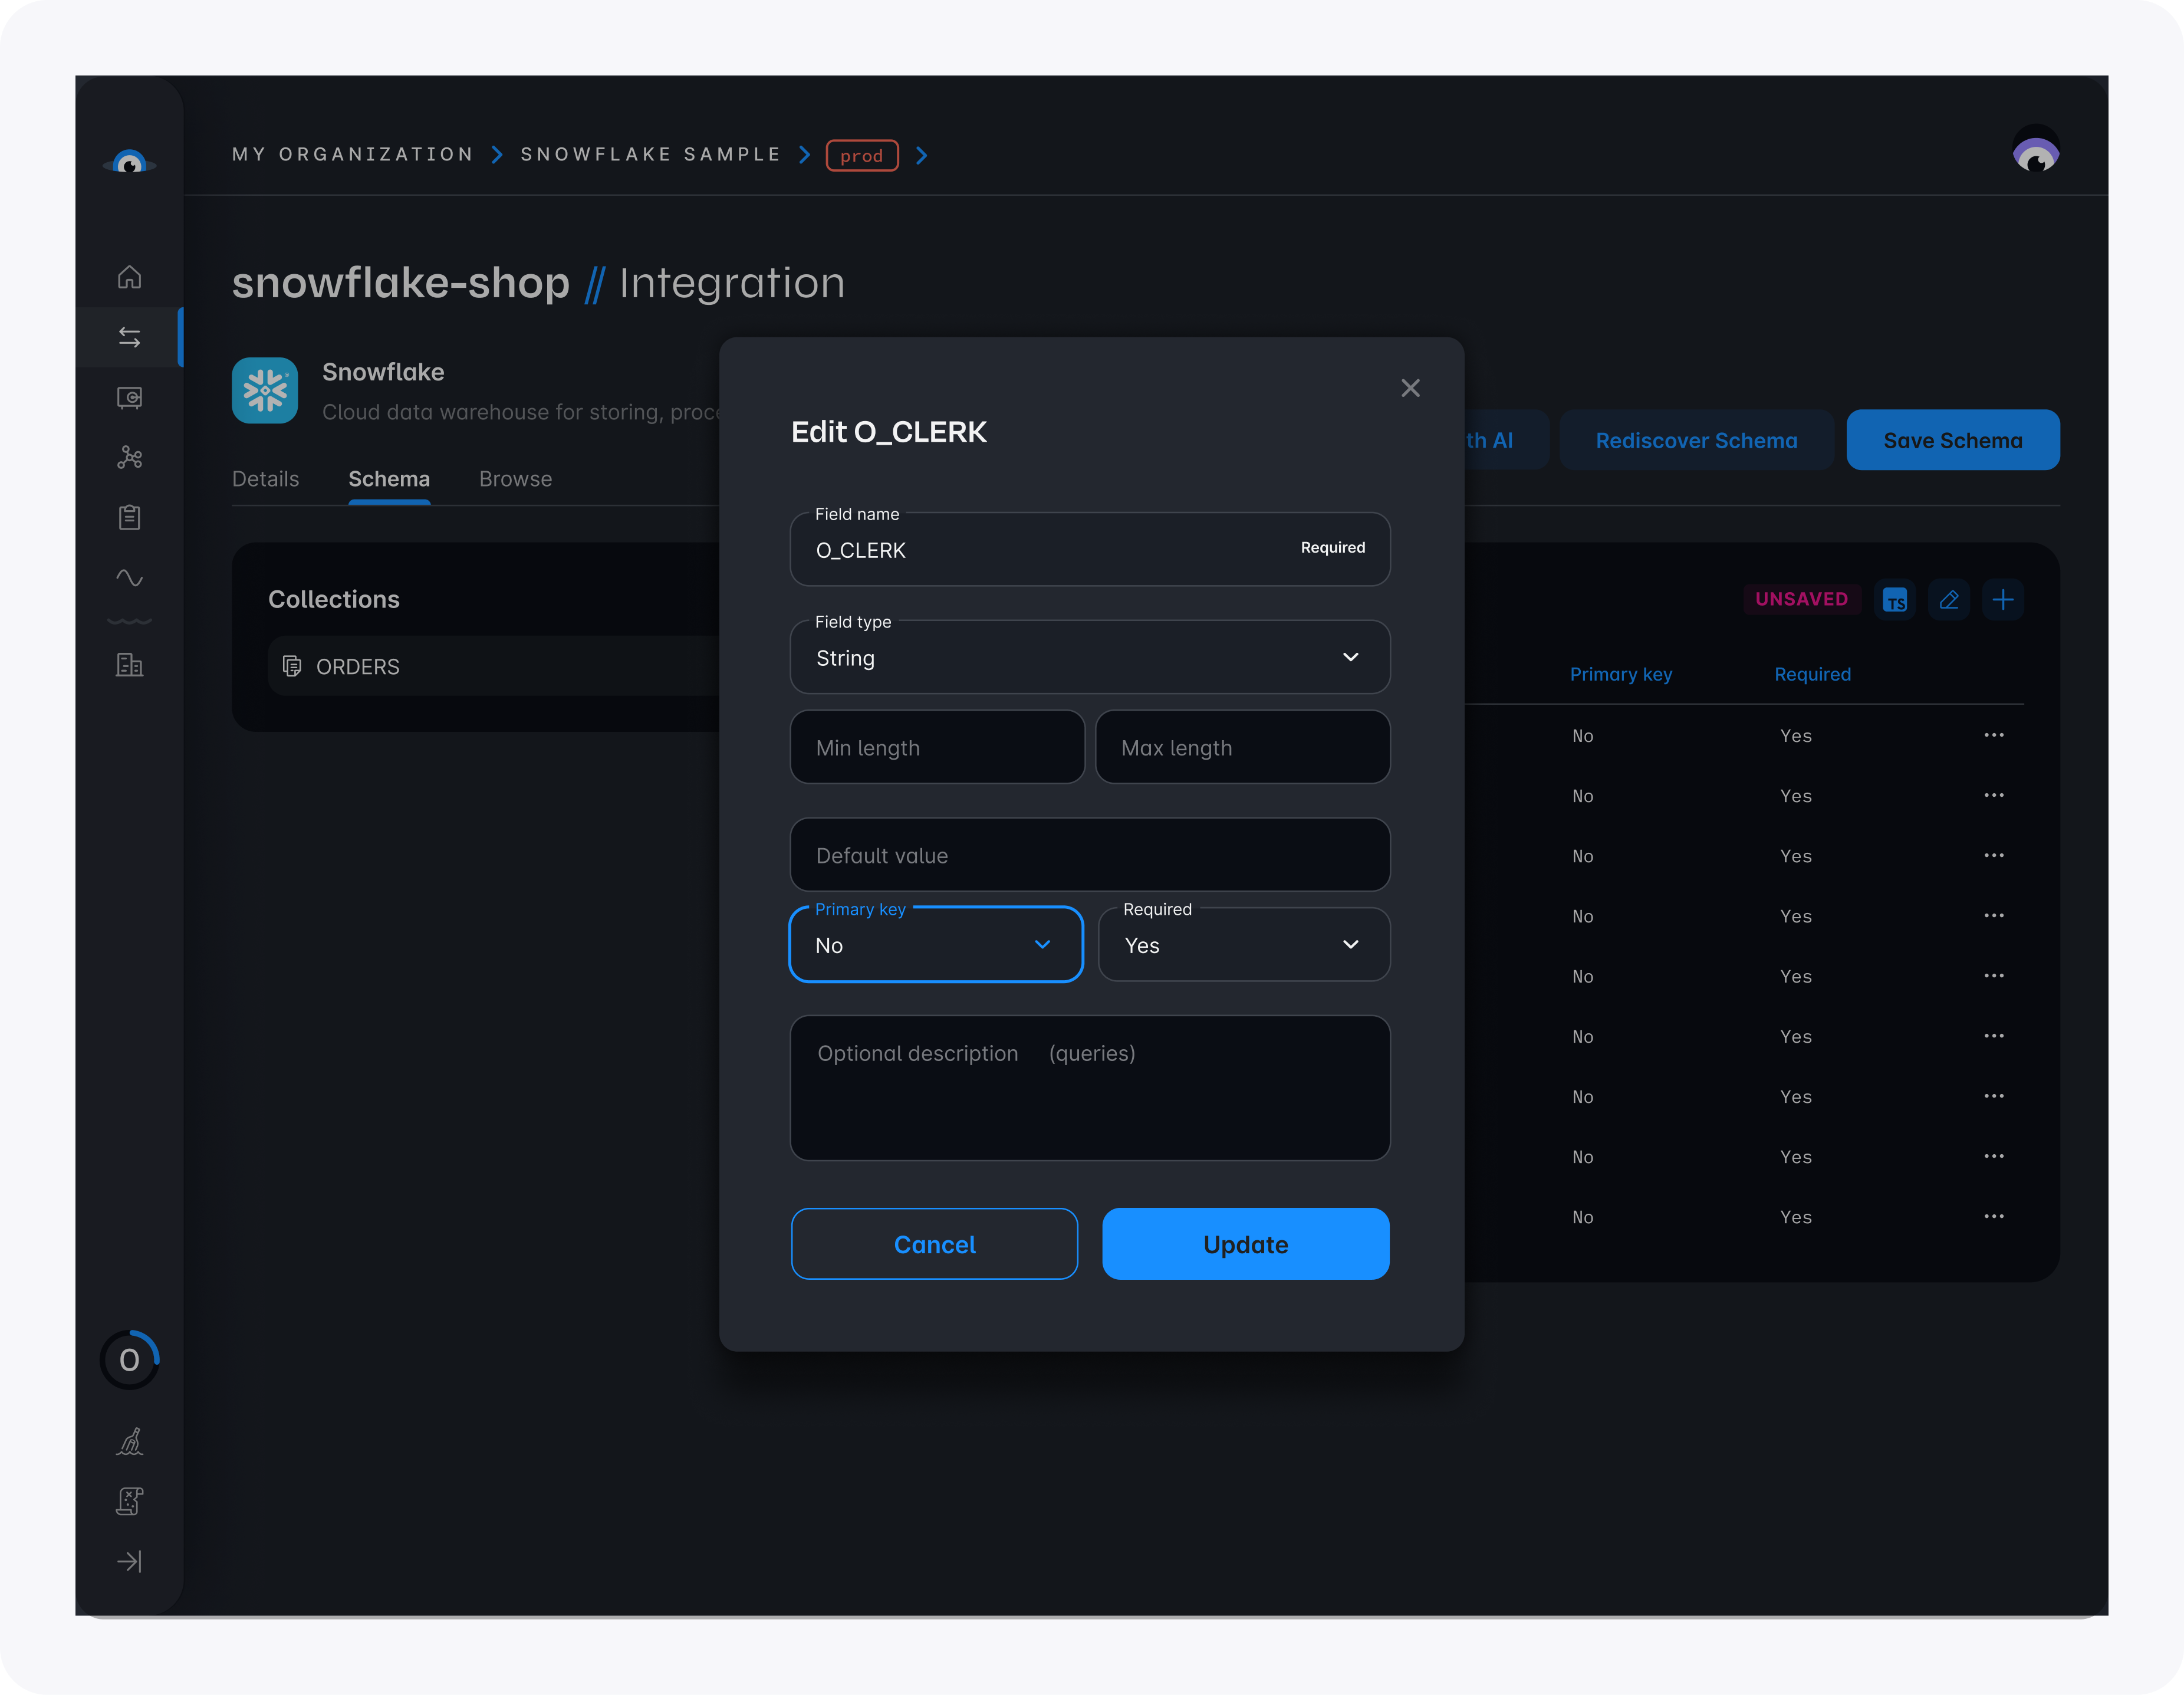
- Click Save schema to save the discovered schema.
Configure the frontend
The following steps add configuration parameters to connect the application to Squid.
- Open a new terminal window and navigate to the project's frontend. You should now have two open terminal windows: one for the app's backend and one for the frontend.
cd frontend
- Install the required dependencies:
npm install
- Run the following command to create a
.env.localfile with the Squid environment configuration needed to initialize Squid:
npm run setup-env
Security rules
Security rules are required for all database integrations. This allows you to create custom logic for authorizing access to
specific collections or actions, as well as the database as a whole. Since authentication and authorization are outside the scope of this tutorial, our backend code includes a security rule which allows for public access to the snowflake integration.
To learn more about securing your data, read about Squid's backend security rules.
Security rules are located in the file backend/src/service/example-service.ts. The security rules can be expanded
by adding a decorator to the SquidService class. To create a security rule for a database integration, use the @secureDatabase
decorator, which takes the database action type and integration_id as a parameter. You can view the current security rule in the ExampleService class:
export class ExampleService extends SquidService {
  @secureDatabase('all', 'snowflake-shop')
  allowAllAccessToSnowflakeDb(): boolean {
    return true;
  }
}
Run the app locally
- Start the Squid backend locally using the following command in the terminal opened to your app's backend:
squid start
- Start the frontend using the following command in the terminal opened to your app's frontend:
npm run dev
- To view the app, navigate to localhost:PORT where PORT is logged in the terminal. The address will likely be
http://localhost:5173.
View the app's functionality
- You can view all the documents that match the query in a table displayed in the frontend. The following Squid hooks read the data, which is then displayed by the
DisplayOrderscomponent:
  const ordersCollection = useCollection<Order>('ORDERS','snowflake-shop');
  const { data } = useQuery(ordersCollection.query().eq('O_CUSTKEY',121361).dereference());

  ...

    return (
    <div>
      <h1>Orders</h1>
      {data && <DisplayOrders orders={data} />}
      <AddOrder />
    </div>
  );
- Click Add order to randomly generate a new order and add it to the database. Notice that this order then appears in the view in real-time. Squid Cloud makes real-time syncing with your Snowflake database possible.
And that's it!
Congratulations! You just connected a Snowflake database to Squid and managed reads and writes from a client application using Squid security functionality. There is so much more that Squid can do with Snowflake and with other integrations, so check out the Squid Client SDK documentation to learn about other database features like mutations and queries, or try out another tutorial like this one that showcases querying your data using Squid AI.