Incorporate Stripe using Squid Webhooks
Use Squid Cloud's webhook decorator to respond to events in Stripe
Webhooks are HTTP requests sent from an app or service when an event occurs. The request's payload includes useful information about the event, which you can use to take actions in your own code. You provide the HTTP endpoint to the service, generally through a product's dashboard. Each product has its own events that can have webhooks, but here's a list of common scenarios:
- Creating a new user
- Updating a user's profile
- Modifying a database or storage
- Analytics events
In this tutorial, you create a webhook that runs when a Stripe customer's invoice status changes to 'paid'.
What you'll build
- A Squid backend that adds data to the built-in database in response to Stripe webhooks.
What you'll learn
- How to create a Squid Service that hooks into Stripe events.
- How to create a Squid Service that adds security to your chatbot.
What you'll need
- The Squid CLI
- A Squid account
- A Stripe account
- The Stripe CLI
- Optional: An Auth0 account with a single-page application configured to use React
Environment setup
- Install the Squid CLI using the following command:
npm install -g @squidcloud/cli
- Download the stripe-webhooks code sample:
squid init-sample stripe-webhooks --template stripe-webhooks
Notice that there are two folders in the starter project: frontend and backend. The code we are writing is only on the backend, so we don't need to make any changes to the frontend right now. There is an option at the end of the tutorial to configure the frontend so you can see document updates in realtime.
Set up the Squid backend
There are two subfolders that make up the stripe-webhooks project: frontend and backend. The backend folder contains the Squid backend for the app.
- Navigate to the Squid Cloud Console and create a new application named
stripe-webhooks.
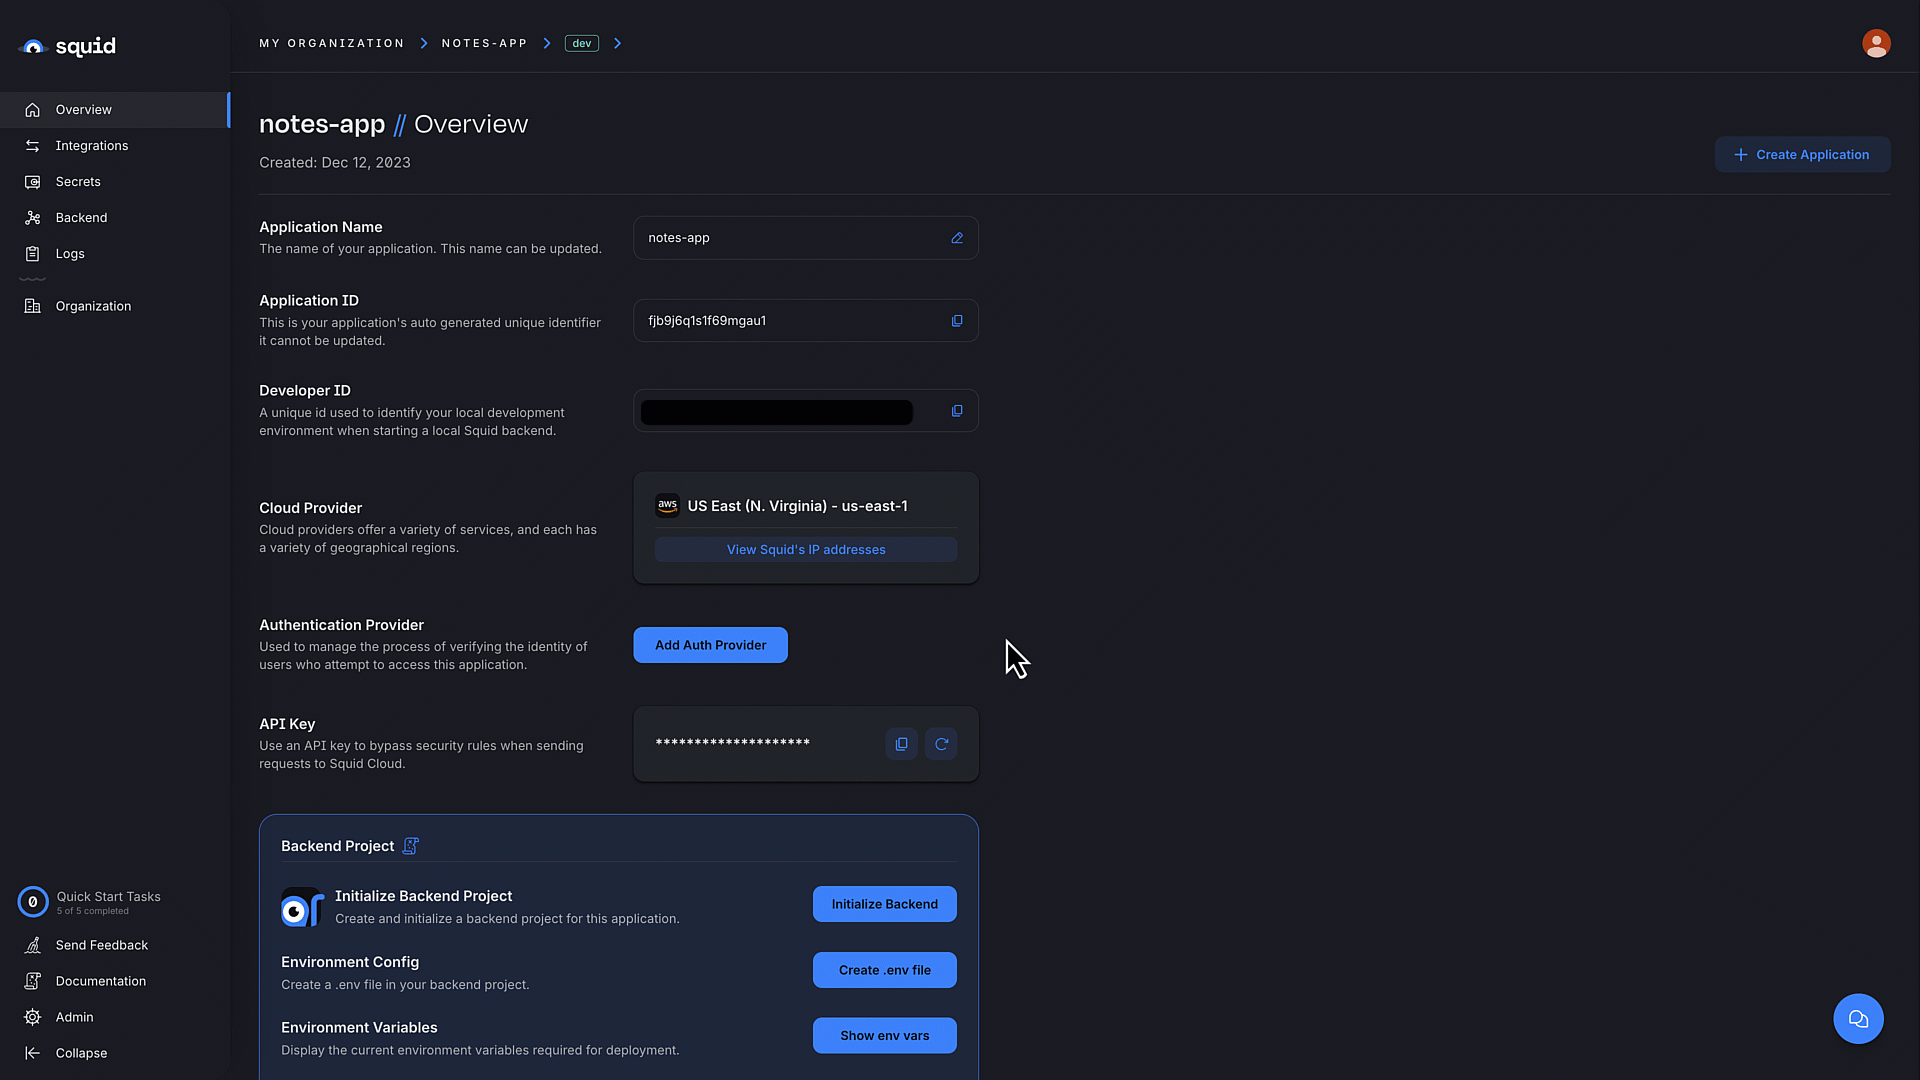
- In the Squid Cloud Console, navigate to the application overview page and scroll to the Backend project section. Click Create .env file and copy the command.
- In the terminal, change to the backend directory:
cd backend
- Create the
.envfile using the command you copied from the console. The command has the following format:
squid init-env \
--appId YOUR_APP_ID \
--apiKey YOUR_API_KEY \
--environmentId dev \
--squidDeveloperId YOUR_SQUID_DEVELOPER_KEY \
--region us-east-1.aws
- Install the required dependencies:
npm install
The backend is now set up and ready to use with a frontend!
Create the webhook service
The webhook Squid Service we create in this section is designed to add a new invoice with its status or update an existing invoice with the status of 'paid'. The key of each field is the invoice ID from Stripe, and the value is either 'paid' or 'unpaid'.
The document ID is the user's authentication ID. Security rules are configured such that users can only view their own invoices. To help visualize, the structure looks something like the following:
userPayments:
  squidUserId123: {
    kaglautA235980A: 'paid'
    Edg26GH697dk104: 'unpaid'
    ...
  squidUserId456: {
    SFHGhg995gja0435: 'unpaid'
    ...
- Navigate to
backend/src/service/and open thestripe-webhook-service.tsfile. - In the
StripeWebhookServiceclass, add the following function:
async addInvoiceToDatabase(stripeUserId: string, invoiceId: string, paid: boolean): Promise<string | any> {
    const paidStatus = paid ? 'paid' : 'unpaid';

    try {
      // Find user in database
      const userDocs = await this.squid.collection('userPayments').query().eq('stripeUserId', stripeUserId).snapshot();

      if (userDocs.length === 0) {
        console.log('new user found, adding to database');
        const newInvoices = { [invoiceId]: paidStatus };
        await this.squid
          .collection('userPayments')
          .doc('squidUserId123')
          .insert({ stripeUserId: stripeUserId, invoices: newInvoices });
        return 'new user, database update complete';
      }

      const newInvoices = { ...userDocs[0].data.invoices, [invoiceId]: paidStatus };
      await userDocs[0].update({ invoices: newInvoices });
      return 'database update complete';
    } catch (error) {
      console.error(error);
      return error.message;
    }
}
This helper function takes three parameters: the Stripe customer ID, Stripe invoice ID, and 'paid' status of the invoice. It queries a collection called userPayments to find the document that belongs to the user with the given Stripe customer ID, and then updates their invoices to include the new invoice.
If there is no document found, it adds a new document with the key of squidUserId123. This is just for demonstration purposes since every Stripe customer should have an associated Squid user ID, and thus a document with their user ID as the key. In your app, you will likely handle the scenario as an error that you log in a different location in the database.
- After
addInvoiceToDatabasefunction, add the following code:
@webhook('handleStripePayment')
  async handleStripePayment(request: WebhookRequest): Promise<WebhookResponse | any> {
    const stripeUserId = request.body.data.object.customer;
    const invoiceId = request.body.data.object.id;
    const response = await this.addInvoiceToDatabase(stripeUserId, invoiceId, true);
    return this.createWebhookResponse(response);
  }
This function uses the @webhook decorator, marking it as a Squid webhook. The string handleStripePayment is used in the endpoint URL, so you want to choose a value that clarifies the purpose of the endpoint.
The customer and id properties are available in the body of the request sent by Stripe. View the Stripe documentation on webhooks for details on available properties.
These attributes are passed to the addInvoiceToDatabase function. Then a response is sent to Stripe using Squid's createWebhookResponse function.
- In the
backendfolder, run your Squid backend locally using the following command:
squid start
The terminal logs include a URL for the webhook. The log will look similar to the following:
| Available webhooks:
| Webhook URL for handleStripePayment: https://YOUR_APP_ID-dev-YOUR_SQUID_DEVELOPER_ID.us-east-1.aws.squid.cloud/webhooks/SQUID_WEBHOOK_NAME
Keep track of this URL because you will need it in the next section.
Add a Stripe customer
For this section, you need a Stripe account.
- In test mode, navigate to the Customers section of the Stripe dashboard.
- Click Add customer. Name the customer John Doe or whatever name you prefer.
- Click Add customer to save the new customer.
Add the webhook to Stripe
- In the Stripe dashboard, click Developers.
- On the Developers page, click the Wehooks tab.
- Click Add endpoint.
- Paste in the endpoint URL from the terminal logs. As a reminder, your Endpoint URL has the following format:
https://YOUR_APP_ID-dev-YOUR_SQUID_DEVELOPER_ID.us-east-1.aws.squid.cloud/webhooks/handleStripePayment
The URL format we're using is for the dev environment. The endpoint format for the prod environment is https://YOUR_APP_IDYOUR_SQUID_DEVELOPER_ID.APP_REGION.squid.cloud/webhooks/SQUID_WEBHOOK_NAME.
Click Select events and choose invoice.paid. It's helpful to use the search bar.
Click Add endpoint.
Test the webhook
Open a new terminal window. You should now have two terminal windows open. If you haven't done so already, install the Stripe CLI.
Add an environment variable to store the Stripe customer ID. The Stripe customer ID is available in the details section of the customer you added to your Stripe Customers dashboard.
export customer=YOUR_STRIPE_CUSTOMER_ID
- Create a new paid invoice for your customer using the following Stripe command:
stripe trigger invoice.paid --override invoiceitem:customer=$customer --override invoice:customer=$customer --override payment_method:customer=$customer
For the purpose of this tutorial, you don't need to worry too much about what these flags mean. If you would like to know more about the Stripe CLI, check out Stripe's reference docs.
This command uses the temporary environment variable you configured. When you want to run this command in another terminal window, you need to add the customer variable again.
In the Stripe dashboard, select the your endpoint from the webhooks tab. You can see the event that took place, Squid's response, and the request body.
In the Stripe dashboard, select the Customers tab and scroll down to the Invoices section of your customer's profile. Notice there is now a paid invoice.
There is also a new unnamed cusotmer in the list of customers. Testing the invoice.paid event with the Stripe CLI creates a new user. This doesn't happen in live events.
You did it!
Congratulations! You just created a Squid Service webhook to respond to an event triggered in Stripe. With the objective completed, you are welcome to stop here, but there is more to add if you choose.
Bonus section: Add a frontend app
To view the updated document data on the backend, we could add a query, get the document, and then log the results. However, to better reflect how you use data in an app, it's best to show the updates on the frontend.
The following bonus steps configure a frontend in which you can view the realtime updates to your database in response to Stripe events.
You will need an Auth0 account with a single-page application configured to use React
Add the Auth0 integration
- If you haven't yet made an Auth0 app, set up an Auth0 account and create a single-page application configured to use React.
When adding the callback and logout URLs, use
http://localhost:5173. - In the Squid Cloud Console in the
devenvironment, select the Integrations tab. - Click the Available integrations tab to view all integrations.
- Scroll to the Auth0 integration and click Add integration.
- Enter auth0 for the Integration ID.
- Enter the client ID and domain for your Auth0 app. These can be found in the Auth0 console.
- Click Add integration.
Add Squid Cloud to the frontend
The following steps add configuration parameters to connect the application to Squid.
- Open a new terminal window and navigate to the project's frontend. You should now have two open terminal windows: one for the app's backend and one for the frontend.
cd frontend
- Install the required dependencies:
npm install
- Run the following command to create a
.env.localfile with the Squid environment configuration needed to initialize Squid:
npm run setup-env
- Navigate to
frontend/src/main.tsx. Notice there is anAuth0Providercomponent which requires configuration:
ReactDOM.createRoot(document.getElementById('root') as HTMLElement).render(
  <Auth0Provider
    domain="AUTH0_DOMAIN"
    clientId="AUTH0_CLIENT_ID"
    authorizationParams={{
      redirect_uri: window.location.origin,
      audience: 'auth0-api-id',
    }}
  >
  <SquidContextProvider
    options={{
      appId: import.meta.env.VITE_SQUID_APP_ID,
      region: import.meta.env.VITE_SQUID_REGION,
      environmentId: import.meta.env.VITE_SQUID_ENVIRONMENT_ID,
      squidDeveloperId: import.meta.env.VITE_SQUID_DEVELOPER_ID,
    }}
  >
      <App />
    </SquidContextProvider>
  </Auth0Provider>
);
Replace the placeholders in the
Auth0Providercomponent with the domain and client ID from your Auth0 application.Open the
frontend/src/App.tsxfile. Replace the placeholder in thestripeUserIdvariable with the Stripe Customer ID from the customer you created. You can find this ID in the Stripe dashboard.
...
function App() {
  const stripeUserId = '[YOUR_STRIPE_CUSTOMER_ID]'
...
- In the
frontendfolder and run the following command:
npm run dev
To view the frontend app, navigate to localhost:PORT where PORT is logged in the terminal. The address will likely be
http://localhost:5173.Log in using the Log in button.
Click Add mock data to generate some imaginary invoices.
In the terminal window you use for Stripe commands, create another paid invoice for your customer. If possible, run the command on a separate screen or shrink the terminal window so you can view the web app as well.
stripe trigger invoice.paid --override invoiceitem:customer=$customer --override invoice:customer=$customer --override payment_method:customer=$customer
- Observe in the web app that you have a new paid invoice. Awesome sauce!
Congratulations! 🦑
Nice work! Not only did you create a webhook that responds to events in Stripe, but you also configured a frontend to view changes in real time.
Next steps
Now that you've created an endpoint in Squid, here are some things to try:
- Add more endpoints in Squid and connect them to other Stripe events.
- Connect Squid endpoints to other products that use webhooks.
- Check out the docs to learn about the other types of functionality available in the Squid Backend SDK.