Environments
Squid provides two environments for your work: dev and prod.
When you create a new application, Squid automatically sets up the dev and prod environments. Use the dev environment for your development and testing. The prod environment is for when you're ready to take your application live.
The dev and prod environments share the same:
- App ID
- Region
- Organization
The dev and prod environments do not share:
- Integrations
- Secrets
- Built-in database integrations
- Backend SDK implementations
- API Keys
Environments and integrations
When toggling between the dev and prod versions of your app in the Squid Cloud Console, you will notice that each has a different set of integrations.
To prevent unwanted changes to your production app's functionality, the integrations in your dev and prod environments are not synced. When adding an integration to your Squid app, confirm that you are adding it to the desired environment.
Connect your dev environment with development versions of your integrations. This allows you to build and test functionality without modifying the production version of your application.
If you choose the same integration ID for a given integration in both your dev and prod environments, you can develop in dev and then push to prod without having to change any variables in your code.
The dev environment
The dev environment is a complete backend application separate from your prod environment's application.
Running the dev backend locally
When initializing your Squid backend from the Squid Cloud Console, you are prompted to swtich to dev mode. The terminal command provided creates a new backend with a .env file. The file contains the attributes needed to run your backend locally during development and to deploy your backend to dev.
To run the backend locally, change to the directory of your backend project, and then run the following command:
squid start
Only the dev environment can run locally. The prod environment only runs when deployed.
To instruct the frontend to use the local backend instead of the deployed backend, include your Squid Developer ID in your frontend Squid Client SDK configuration:
<SquidContextProvider
  options={{
    appId: 'YOUR_APP_ID',
    region: 'YOUR_REGION', // example: 'us-east-1.aws'
    environmentId: 'dev'
    squidDeveloperId: 'YOUR_SQUID_DEVELOPER_ID',
  }}
>
  <App />
</SquidContextProvider>
You can find your Squid Developer ID in the .env file in the backend or in the Squid Cloud Console.
Your Squid Developer ID is for local development only. Do not bundle your developer ID in your frontend app.
Deploying the dev backend
To deploy your backend to your dev environment, run the following command from your backend project's directory:
squid deploy
Deploying to dev provides a staging environment where collaborators can test functionality. Once the dev backend is deployed, it is live and accessible from your app frontend without using the squidDeveloperId parameter in your Squid context.
Your deployed dev environment shares integrations with the local dev environment. The built-in database, Squid Secrets, Squid AI, and any other integrations are the same for the local and deployed dev backends.
The prod environment
The production environment of your Squid Cloud application is the version your users should interact with. When adding integrations to the prod version of Squid, use the production version of your services.
Deploying the prod backend
You can run your app locally in the dev environment during development and testing, and then deploy the changes to the prod or the dev environment. When ready to push a version of your backend to prod, use the following command:
squid deploy --environmentId prod --apiKey YOUR_PROD_API_KEY
You can find your prod deploy command and the prod API key in the Squid Cloud Console. Click the Deploy backend button in the Backend project section to find the command.
Selecting your environment
Environments in the console
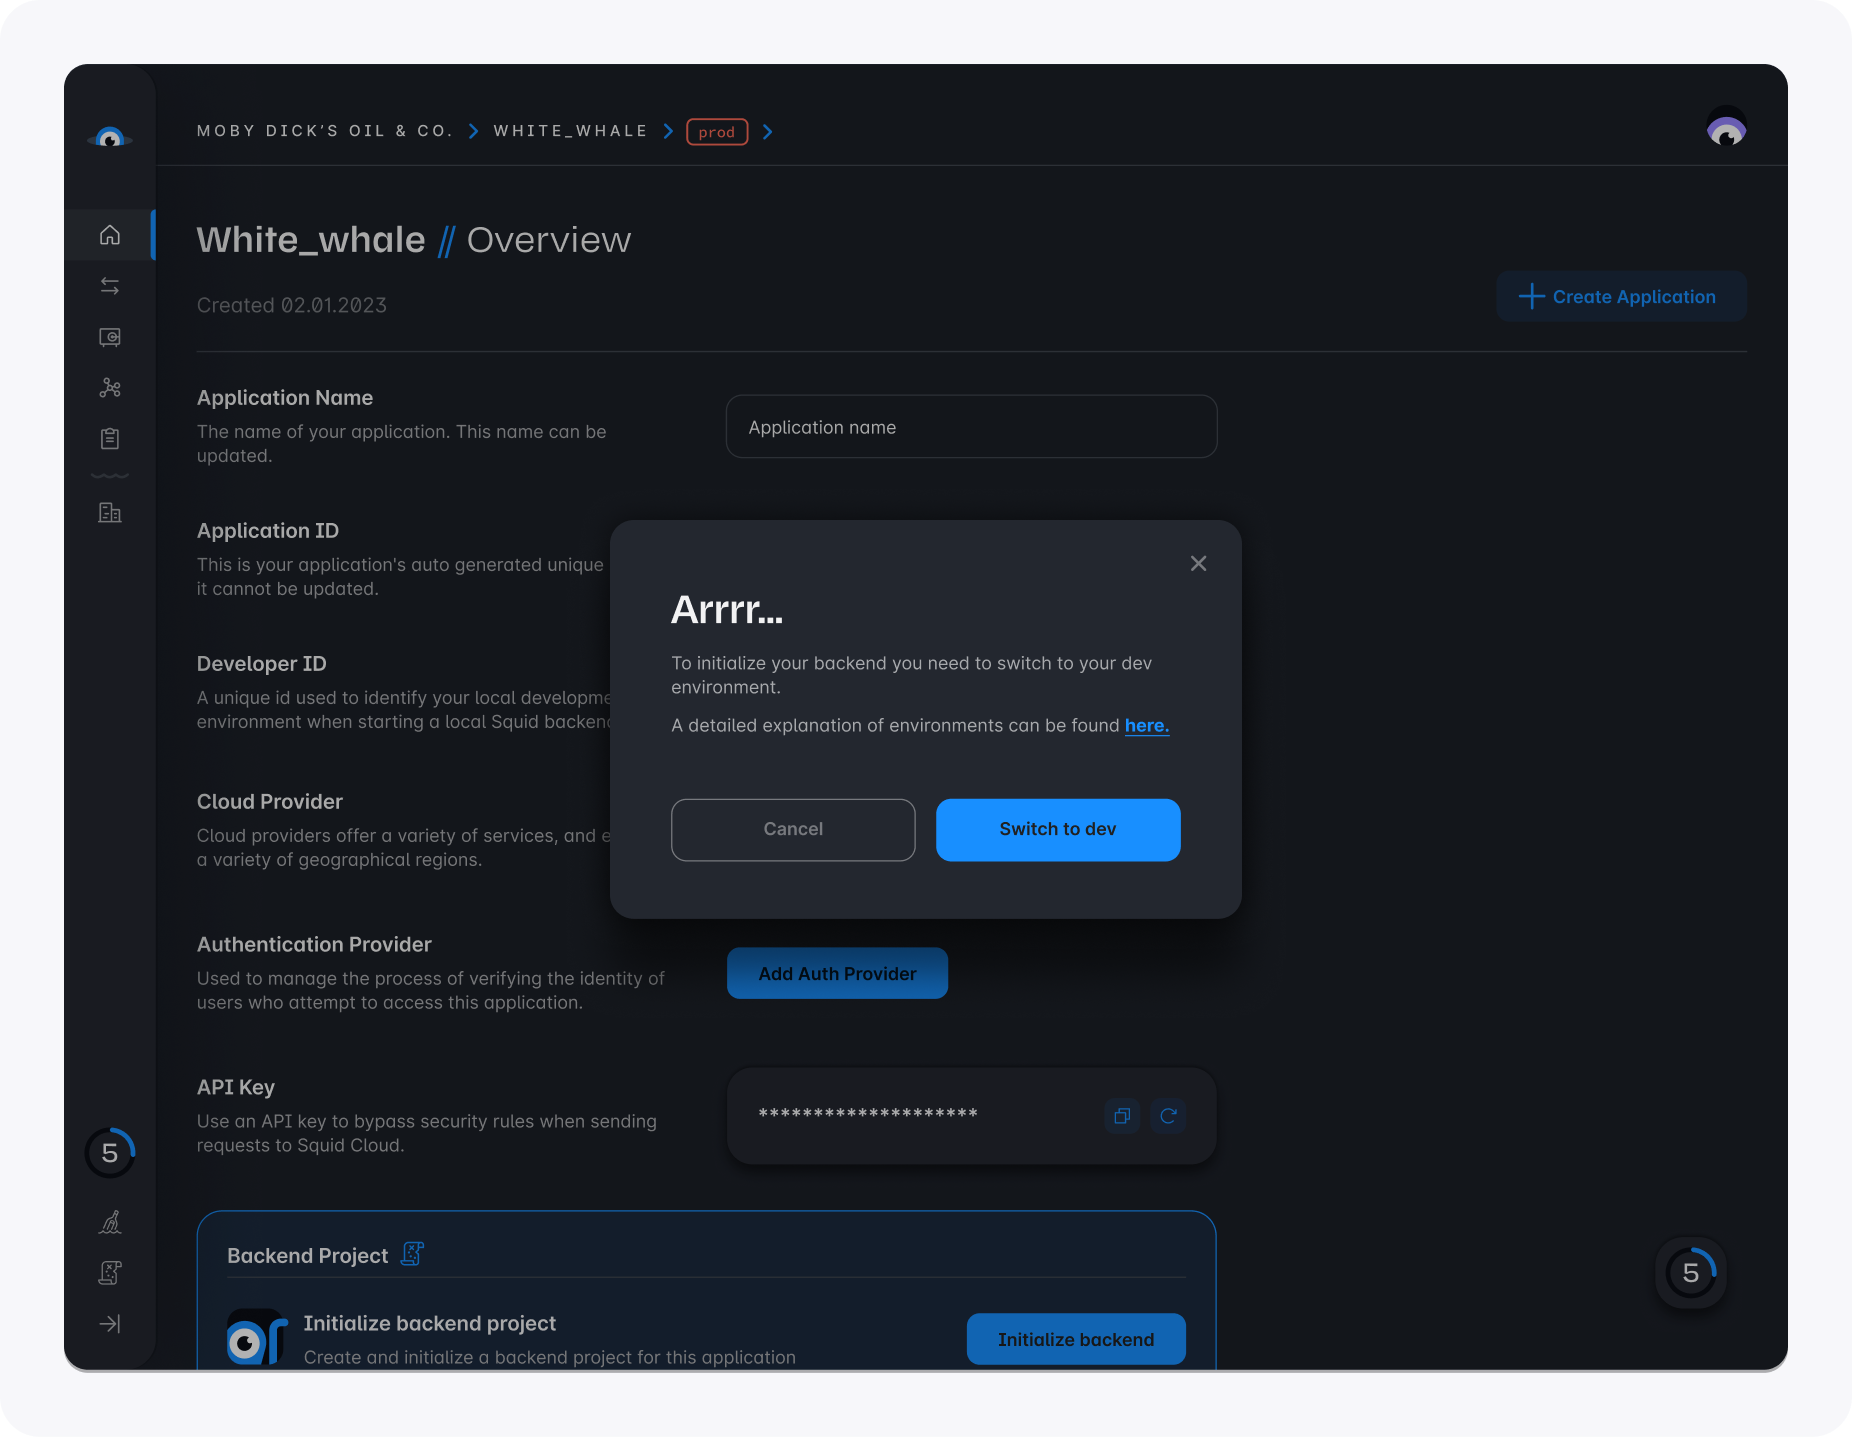
Verify you are in the correct environment before adding or managing integrations in the console. To toggle between environments in the Squid Cloud Console, select the environment name at the top of the console, and then select the environment you want to display.

Environments in the backend
By default, the environmentId and apiKey in your .env file is set to dev, so if you run commands without these flags, the command defaults to the dev environment. It is not recommended to change the environmentId or apiKey`` values in your .envas you risk accidentally deploying toprod`.
To change your environment in the backend, use the appropriate flags in your Squid CLI commands.
squid deploy #Deploys to dev
squid deploy --environmentId prod --apiKey YOUR_PROD_API_KEY #Deploys to prod
Environments in the frontend
To change your environment in your app's frontend, use the appropriate environmentId value in your Squid context:
<SquidContextProvider
  options={{
    appId: 'YOUR_APP_ID',
    region: 'YOUR_REGION', // example: 'us-east-1.aws'
    environmentId: 'dev', // or 'prod'
  }}
>
  <App />
</SquidContextProvider>
Environment variables
Environment variables in Squid are essential for configuring and operating your application in both the development and production environments. These variables facilitate the initialization and operation of the Squid Client SDK and backend.
Key variables and their usage
- SQUID_APP_ID: Your unique Squid application identifier. (
--appIdwhen using in the command line) - SQUID_REGION: Specifies the region, such as 'us-east-1.aws'. (
--regionwhen using in the command line) - SQUID_ENVIRONMENT_ID: Indicates the working environment, either 'dev' or 'prod'. (
--environmentIdwhen using in the command line) - SQUID_API_KEY: A distinct key for API access, different for each environment. (
--apiKeywhen using in the command line) - SQUID_DEVELOPER_ID: Necessary for running the Squid backend locally, accessible in the
.envfile or Squid Cloud Console. (--squidDeveloperIdwhen using in the command line)
The order of precedence for reading these variables is as follows: first from the command line, then from the .env file, and finally from the environment variables set on the machine or the process.
Setting variables in different contexts
Local development
For local development, environment variables are set using a .env file, which can be generated from the Squid Console.
This file includes the squidDeveloperId which is unique for each developer.
Command line & manual deployment
When using the command line, these variables can be supplied line using the --appId, --region, --environmentId, --apiKey flags.
The best practice is to set the .env file for the dev environment and when deploying to prod manually, pass the --apiKey flag for the prod environment. to override the apiKey variable in the .env file.
Automated deployment tools
For automated deployments using tools like Netlify or GitHub Actions, it is recommended to set these environment variables directly on the deployment machine or process or within the deployment tool's configuration. This approach ensures better security and management of sensitive information, such as the API Key. Setting variables on the deployment machine or process also allows for a clear separation between development and production configurations.
Security considerations
Exercise caution with sensitive variables, particularly the API Key. It should never be exposed in the client-side code to avoid security risks. Always manage such critical information securely, either on the server side or within protected environment variables.
Managing environment variables in the console
For ease of management, you can copy environment variables from the Squid Cloud Console. This feature is helpful for setting up your variables accurately for both development and deployment purposes. The "Show env vars" button in the Squid Cloud Console is a convenient tool for accessing these variables.
You may also want to click on the "Create .env file" button to generate a .env file for local development.